Google’s collaboration with Kairos Power seeks to unlock up to 500 MW of nuclear power for the U.S. electricity system through multiple small modular reactor deployments. Google is teaming up with Kairos Power and the Tennessee Valley Authority to build an advanced nuclear plant, the companies announced Monday. The plant, which should be operational by 2030, will help power Google’s data centers in Tennessee and Alabama. Google and Kairos cut a deal last year to expand the latter’s nuclear tech and fuel Google’s AI push. Construction of new nuclear plants has been a tricky prospect in the U.S. in recent years; Kairos’ smaller plants are meant to be more affordable and easier to deploy.
Hello All. During the last ICS Cybersecurity course I taught some of my students asked me to post some details about configuring an Allen Bradley Micro820 PLC. We use the Micro820 for our labs as it is great name-brand, low-cost PLC with onboard ethernet. Sells for around $400 (not including the power supply)
The Micro820 programmable logic controllers (PLC) includes a nano-sized footprint and is designed for small standalone machine control and remote automation applications that require flexible communications and I/O capabilities. These controllers support up to 36 I/O points with many embedded features such as Ethernet, microSD slot for recipe and data log, and analog I/O. Furthermore, all the software and documentation needed to configure the PLC as well as create some initial programs (e.g., ladder logic, structured text, and/or function blocks) is available for download off Rockwell’s website.
Rockwell Software (CCW)
If you’re just getting started, you’ll need to install both RSLinx and Connected Components Workbench (CCW). RSLinx is installed automatically with CCW. Do a search for Connected Components Workbench (CCW) Standard Edition.
You will have to create an account and login to get access to the software. The simply download the software:
IMPORTANT – if you are running Windows 10 or later (which you probably are), you will need to install .NET 3.5 or the install will not work. If you have issues installing .NET 3.5, then you may need a Windows 7 VM.
Run the .exe file (part 1) as an administrator to extract the .rar files (part 2)
Open the subdirectory that was created in part 9. It should contain a file named “setup.exe.”
Run “setup.exe” as an administrator to install both RSLinx and CCW.
Unless you need one of the language packs (Chinese, Portuguese, French, Italian, German, or Spanish), I recommend installing the components/features which are selected by default.
Wiring the PLC
There are lots of ways to wire a PLC, and I have no idea which way is best for you. The method presented here is what I call “PLC on a stick,” which is exactly the way it sounds, except it’s a rail and not a stick (but you can still use it to point at people).
Think of PLC on a stick as being analogous to a microcontroller experimenter board. It works really well for the cubicle experimenter or electronics enthusiast, not so well for those in need of a legit control panel.
Before routing wires, it’s usually a good idea to put a little thought into the mechanical layout. I start with a piece of 35 mm DIN rail (say 12-18 inches) and then I find an arrangement that makes sense. For example:
Putting the power supply on the left makes sense to me because I like to visualize the input to the power supply on the left and the output on the right, but whatever works for you.
When I decide on a layout I start wiring stuff:
The terminal blocks provide a way to connect switches and indicators, but they aren’t necessary:
Connecting to the Micro820 for the first time (via Ethernet)
Ethernet is probably the simplest of the two methods, since you need only an Ethernet cable. These instructions assume you’re connecting to the Micro820 for the first time.
A new Micro820 will be configured for DHCP. This means all you have to do is ensure you’re network adapter is also configured for DHCP and then open RSLinx. RSLinx should to the rest.
Power up the Micro820
Use an Ethernet cable to connect the Micro820 to you Windows machine
Open the “Network Connections” screen (Control Panel > Network and Sharing Center > Change adapter settings).
Right-click on the Ethernet adapter you used in step 2 and select “Properties.” (If you’re not sure which adapter you’re using, just unplug the Ethernet cable and plug it back in. The adapter’s icon will change as you do so.)
In the “Local Area Connection Properties” window, select “Internet Protocol Version 4 (TCP/IPv4)” and click “Properties.”
Ensure “Obtain an IP address automatically” is selected.
Click “OK” to close the “Internet Protocol Version 4 (TCP/IPv4) Properties” window.
Click “Close” to close the “Local Area Connection Properties” window.
To open RSLinx Classic Lite, hit the Windows key, type “rslinx,” and press the Enter key.
In the list on the left, expand the list item named “AB_ETHIP-1, Ethernet.”
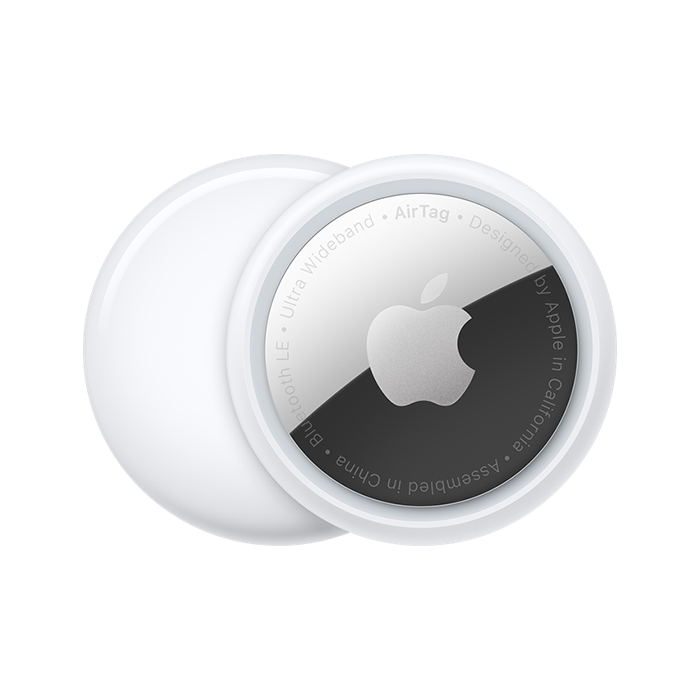
Hello All. Like many people, I make use of Apple AirTags for a number of applications in my day-to-day life. Isn’t it great when the airline says, “We don’t know known where your luggage is.” and you say, “It is siting on the north side of Chicago O’Hare Airport.” Just recently, with the rash of car thefts in the Toronto area, many have been tracking their stolen vehicles using multiple hidden AirTags. Thinking back to the start of my career in technology, I would have never though this would be a thing. If you are curious how these work, it is quite simple. AirTags use ultra-wideband technology and Apple’s existing network of devices to help you track down lost or stolen items. So as long as an Apple device is in proximity to your AirTag, it will relay the location back to Apple, and on to the person tracking it. Great use of crowdsourcing via Apple users, huh? However, in order to track an AirTag, you must be running iOS 14.5 or above on your iPhone or iPadOS 14.5+ on your tablet. However, in order to use Precision Finding, which can guide you to your device via on-screen instructions, you need an iPhone 11 or 12. These models use the camera, ARKit, accelerometer, and gyroscope for a more “directionally aware finding experience,” according to Apple. AirTags do not include a GPS chip like your iPhone. Instead, Apple has used its proprietary U1 chip with ultra-wideband technology to create a peer-to-peer network that taps into the 1.65 billion Apple devices out in the wild to nail down the location of an AirTag.
Lots of creators on YouTube have done some cool things with AirTags. I truly enjoyed MegaLag’s series where he shipped them to Elon Musk as SpaceX, Tim Cook at Apple and one to North Korea. The video is below:
If you are like me and were curious about the engineering behind the AirTag, the actual printed circuit board (PCB) specifications, how it stores information, how it manages power or how it advertises itself, there is lots of details out there on the Internet after people have reversed engineered it.
The Apple AirTag has the Nordic nRF52832, whose die is built with a 90nm process node – an advancement over the 180nm process used in slightly older 2.4 GHz Noridc Transceiver ICs. The nRF52832 found in the AirTag is the WLCSP50 package which is 75% smaller than the larger 48-pin 6 mm x 6 mm QFN option. There may be multiple reasons for selecting the WLCSP50 instead of a QFN package, one of which could be as simple as requiring less PCB space to use the versatile Nordic chip. The nRF52832 Bluetooth SoC can support multiple radio types, including a 2.4 GHz proprietary radio if needed. The nRF52832 used in the Apple AirTag supports NFC tag, Bluetooth, and Bluetooth Mesh. It is the Bluetooth Mesh feature that enables the AirTag to connect to other Apple devices in the Apple Find My network.
For die size comparison to the nRF52832, the UWB transceiver die is produced on a TSMC’s 16nm process node, allowing for more transistors (and circuits) on a similar sized die like that in the nRF52832. All in all, the radio ICs of the Apple AirTag take up less than 30 mm2, or 6%, of the entire available PCB area. However, the performance of the AirTag, i.e., its success in staying connected to the Find My network, is not just in the radio ICs but also relies heavily on its antennas and antenna designs. But the AirTag’s small size does not allow for separate antenna parts as we see in other larger devices like mobile phones. Instead, the AirTag has a single frame with all three antennas designed on it. Apple also included a speaker in the AirTag, which ‘chirps’ for various scenarios. A Maxim Class-D audio amplifier also located on the PCB drives the speaker. It is not just the AirTag’s function and design that are noteworthy. The AirTag retails for less than USD 30 and has an estimated manufacturing cost of USD 10 (not including software costs and R&D).


 Hello All. Like many people, I make use of Apple AirTags for a number of applications in my day-to-day life. Isn’t it great when the airline says, “We don’t know known where your luggage is.” and you say, “It is siting on the north side of Chicago O’Hare Airport.” Just recently, with the rash of car thefts in the Toronto area, many have been tracking their stolen vehicles using multiple hidden AirTags. Thinking back to the start of my career in technology, I would have never though this would be a thing. If you are curious how these work, it is quite simple. AirTags use ultra-wideband technology and Apple’s existing network of devices to help you track down lost or stolen items. So as long as an Apple device is in proximity to your AirTag, it will relay the location back to Apple, and on to the person tracking it. Great use of crowdsourcing via Apple users, huh? However, in order to track an AirTag, you must be running iOS 14.5 or above on your iPhone or iPadOS 14.5+ on your tablet. However, in order to use Precision Finding, which can guide you to your device via on-screen instructions, you need an iPhone 11 or 12. These models use the camera, ARKit, accelerometer, and gyroscope for a more “directionally aware finding experience,” according to Apple. AirTags do not include a GPS chip like your iPhone. Instead, Apple has used its proprietary U1 chip with ultra-wideband technology to create a peer-to-peer network that taps into the 1.65 billion Apple devices out in the wild to nail down the location of an AirTag.